This notebook lays out instructions to log into the cloud infrastructure (JupyterHub) provided by 2i2c for this tutorial.
You won’t be able to complete this step until the actual day of the tutorial (you’ll get the password then).
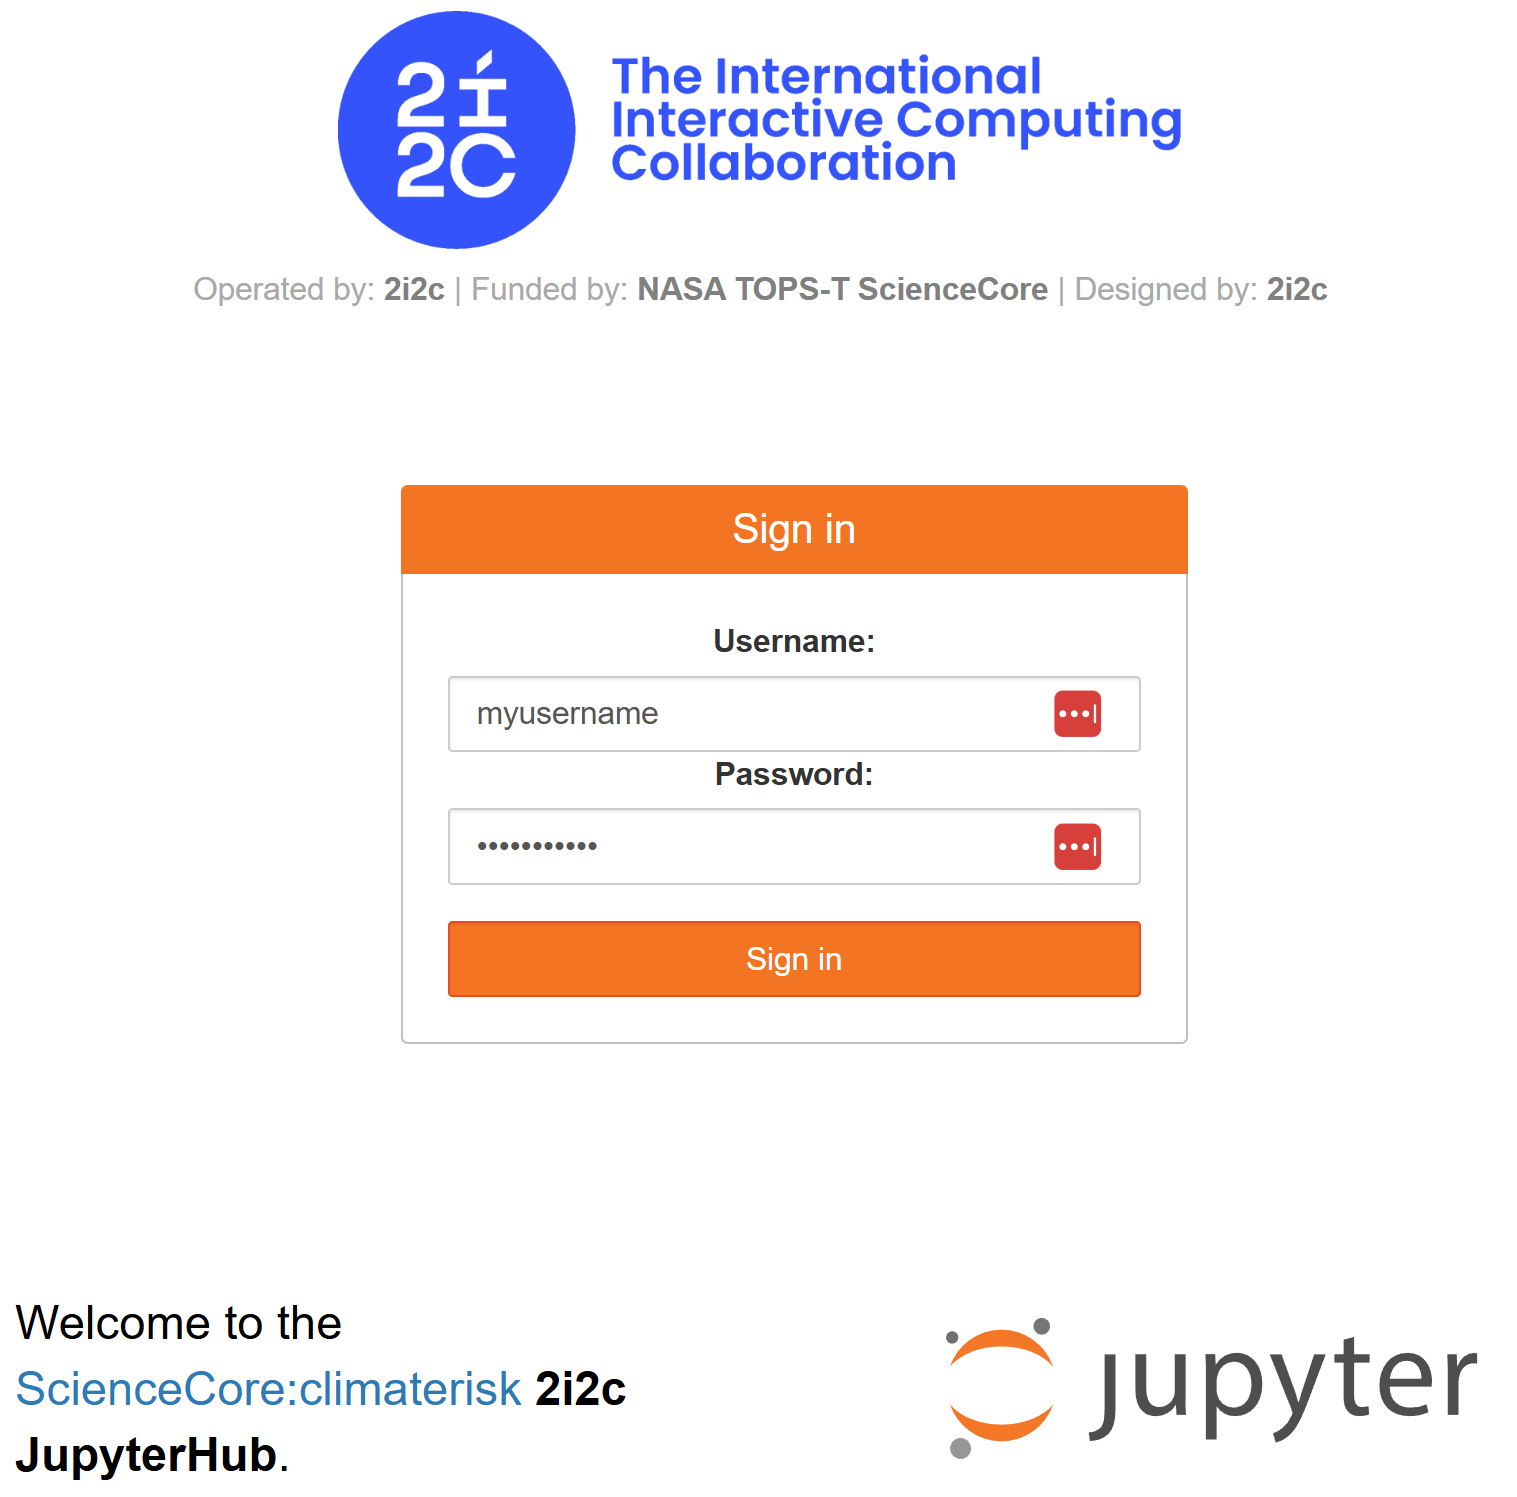
1. Logging into the 2i2c Hub
To login to the JupyterHub provided by 2i2c, follow these steps:
Navigate to the 2i2c Hub: Point your web browser to this link.
Log in with your Credentials:
- Username: Feel free to choose any username you like. We suggest using your GitHub username to avoid conflicts.
- Password: You’ll receive the password on the day of the tutorial.
- Logging In:
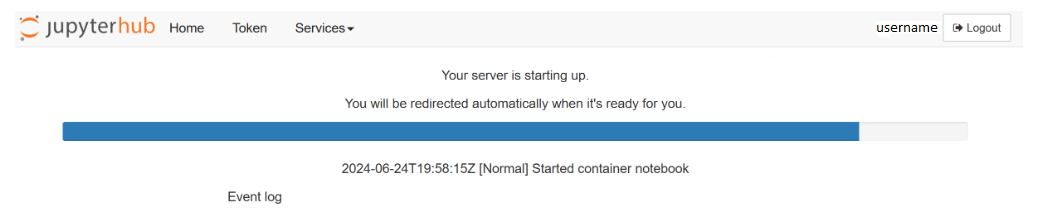
The login process might take a few minutes, especially if a new virtual workspace needs to be created just for you.
- What to Expect:
By default, logging into https://climaterisk.opensci.2i2c.cloud automatically clones a repository to work in. If the login is successful, you will see the following screen and are ready to start working.
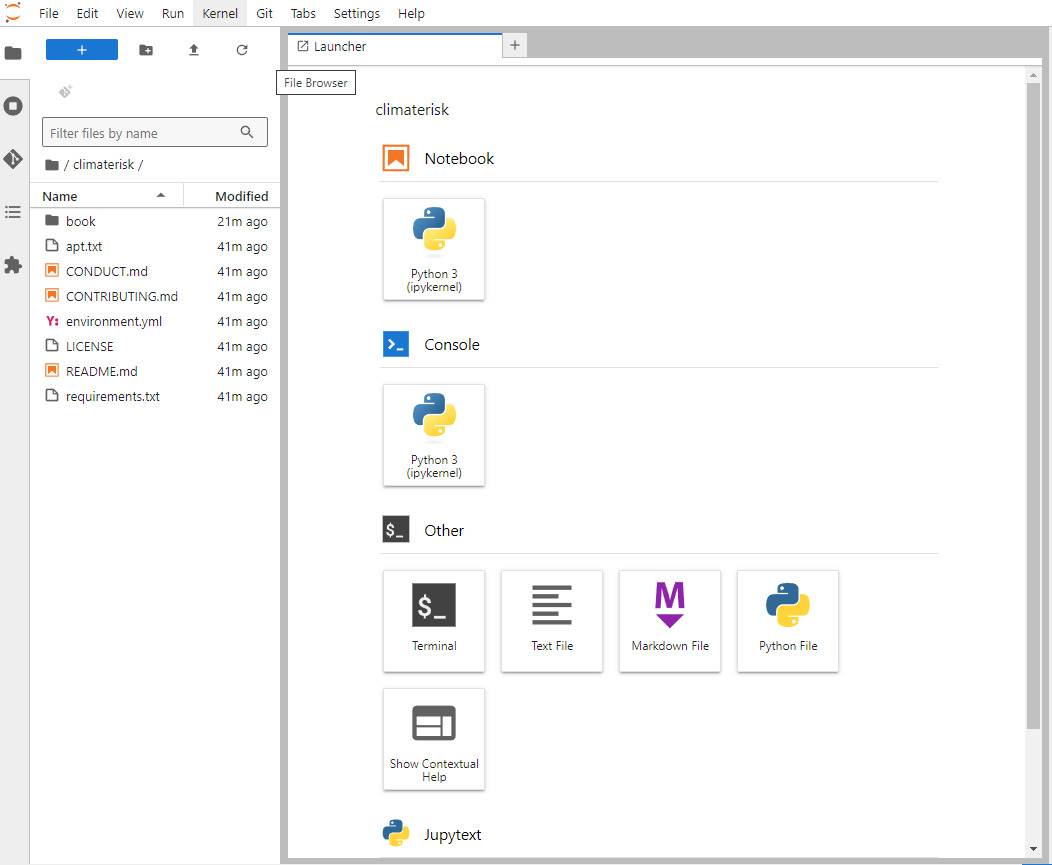
Notes: Any files you work on will persist between sessions as long as you use the same username when logging in.
2. Configuring the Cloud Environment to Access NASA EarthData from Python
To access NASA’s EarthData products from Python programs or Jupyter notebooks, it is necessary to save your NASA EarthData credentials in a special file called .netrc in your home directory.
You can create this file by executing the script
make_netrc.pyin a terminal:$ python make_netrc.pyYou can also choose to execute this script within this Jupyter notebook by executing the Python cell below (using the
%runmagic).Some caveats:
- The script won’t execute if
~/.netrcexists already. You can delete that file or rename it if you want to preserve the credentials within. - The script prompts for your NASA EarthData username & password, so watch for the prompt if you execute it from a Jupyter notebook.
- The script won’t execute if
%run make_netrc.py- Alternatively, you can create a file called
.netrcin your home folder (i.e.,~/.netrc) with content as follows:Of course, you would replacemachine urs.earthdata.nasa.gov login USERNAME password PASSWORDUSERNAMEandPASSWORDin your.netrcfile with your actual NASA EarthData account details. Once the.netrcfile is saved with your correct credentials, it’s good practice to restrict access to the file:$ chmod 600 ~/.netrc
3. Verifying Access to NASA EarthData Products
To make sure everything is working properly, execute the script test_netrc.py:
$ python test_netrc.pyAgain, you can execute this directly from this notebook using the Python cell below:
%run test_netrc.pyIf that worked smoothly, you’re done! You now have everything you need to explore NASA’s Earth observation data through the EarthData portal!